
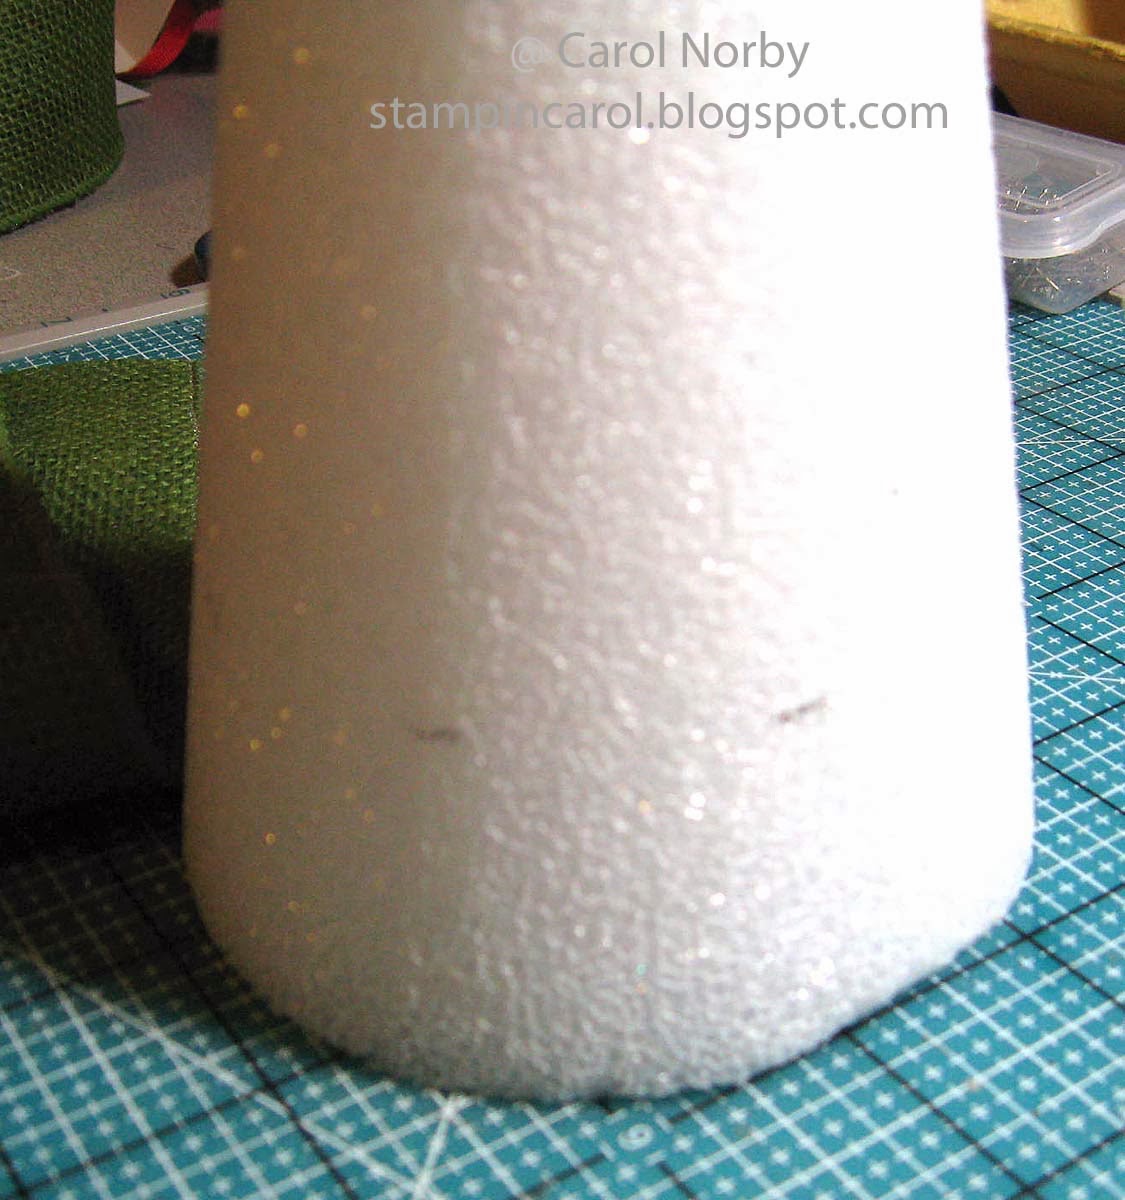
I marked 1 1/2" up from the bottom all the way around to make sure my first row wasn't uneven. I measured around the cone at my mark and cut my burlap about 1/2" longer.

I then but every inch about 1/2 way up into the burlap.

I used sewing pins coated with Beacon's 3 in 1 glue to attach the burlap. After getting the first row on I marked up 1" for the 2nd row placement.

I continued pinning the burlap and then marking 1" higher for each row. When I got to the top I made sure my burlap was pinned to the top edge. I then cut a 5" length of burlap, cut every 1" and formed (thank goodness for the wire in the burlap) a top and added an angel that had a wire coming out the bottom to attach the top to the cone. I don't know if this is making any sense but if you try it find a star or something you want for a topper that has the wire.

You can see the top of the tree here fairly good. I then used a bunch of Christmas stickers by Jolee's. This view is looking a bit down on the tree.

Here's more of a straight on view.

Here's a close up of the stickers. I think if I do this again maybe I'll just leave the tree bare and add a star to the top.

1 comment:
How creative and cute - love all the stickers you used to trim the tree.
Post a Comment